DIY Cat Scratching Post
7April 7, 2013 by sophieaeiou
DIY : Como hacer un rascador de gatos
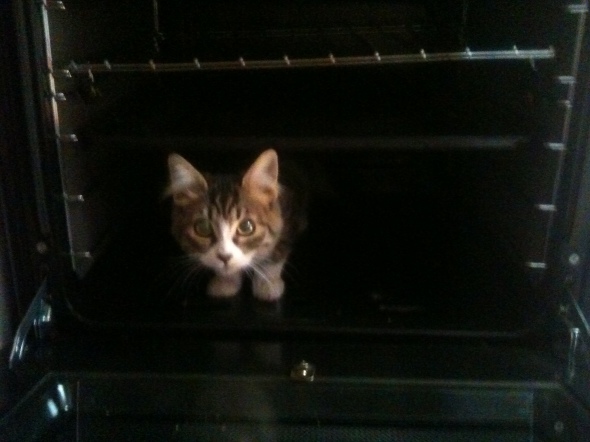
It has been two months since Pocho came into our lives, who, as it turns out, according to the vet, is quite possibly a mix between a huiña, (a Chilean wild cat) and a domestic cat. He is as tame and spoilt as anything, but apparently his markings and his face structure point to a wildcat ancestry. Since his arrival his favourite activities have expanded beyond helping with the DIY, and now include, climbing trees, playing hide and seek in the oven, oh and a whole lot of sleeping.
Han pasado dos meses desde que el Pocho llegó a nuestras vidas, quien, según el veterinario, es probablemente una mezcla entre huiña (un gato salvaje chileno) y un gato domestico. Es más regalón, pero según sus marcas, y la forma de su cara, tiene antepasados salvajes. Ahora sus actividades favoritas no solo incluyen ayudar con el hagaloustedmismo, sino que también subirse al árbol, jugar a las escondidas en el horno, y ah claro, dormir su buena siesta.
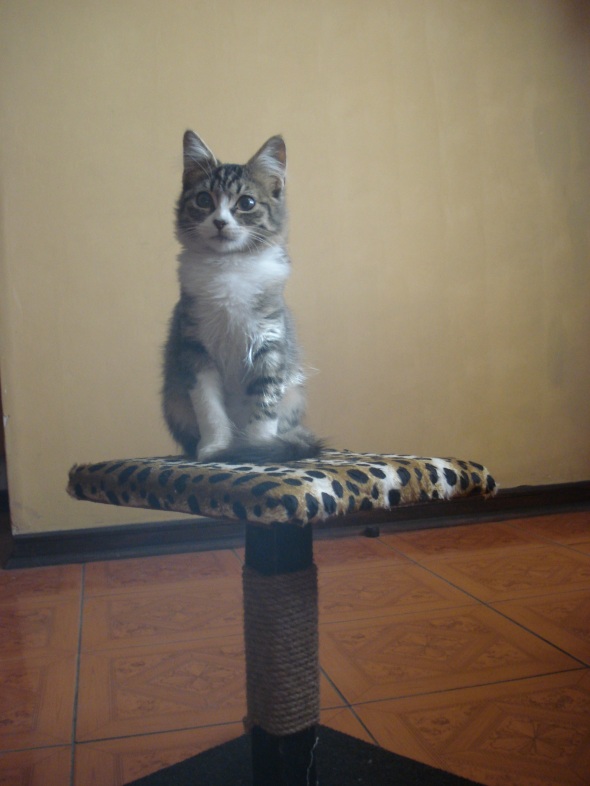
I bought this cat scratching post on Mercado Libre (a Chilean site similar to ebay) and although Pocho seems quite content with it I felt inspired to make him another one. Whilst he does on rare occasion get up on the platform bit, the main point of having a cat scratching post is for them to scratch that rather than your sofas, and it seems like the platform bit stops him launching a full on attack on the post. So, I decided to make a taller one, without the platform, with the idea that he’d be more inclined to get his scratch on, and in general just to have two so he’d have more places to scratch. Yup he’s totally spoilt.
Compré este rascador de gatos en Mercado Libre, y aunque el Pocho esta contento con el, me inspiré a hacerle otro. Mientras en rara ocasión se sube a la plataforma, el propósito principal de los rascadores, es para que rasquen allí en vez de hacer tira a los sofás, y me parece que la plataforma le limita un poco en lanzar un ataque máximo al poste. Así que decidí hacerle uno más alto, sin la plataforma, con la idea de que tendría más ganas de rascarse las uñas allí, y en general para tener más de uno. Sip, es entero regalón.
MATERIALS AND TOOLS / MATERIALES Y HERRAMIENTAS
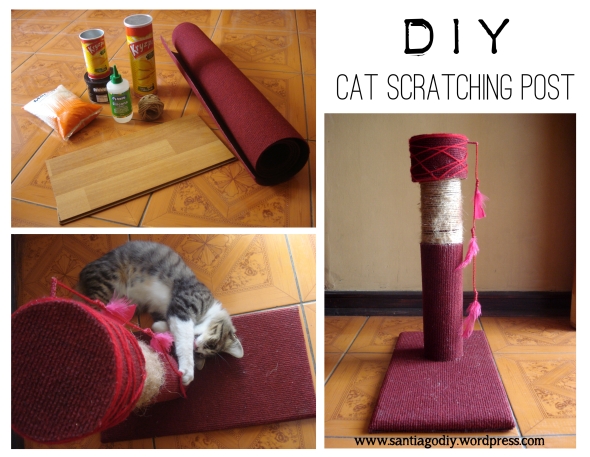
So, to make your own cat scratching post, you will need:
Entonces, para hacer tu propio rascador de gatos, necesitarás:
–A piece of wood/board. I used an off-cut of laminated flooring that was lying around, but an old chopping board or something similar would work.
–Empty cans, tubes etc. I used two Pringles style crisps tubes, and a tub of coffee. Ones with lids work best.
–Carpet. The thinner, cheaper kind. I asked for a remnant piece at the Persa, which cost $1.500 (approx £2).
–Glue. I used Silicone Adhesive and carpet glue, although I think a hot glue gun would work best. I also used some Neopren carpet adhesive.
–Craft knife.
–Thick, coarse string.
–Wool
–Feathers or some other plaything.
–Bag of rice
–A nail or tack
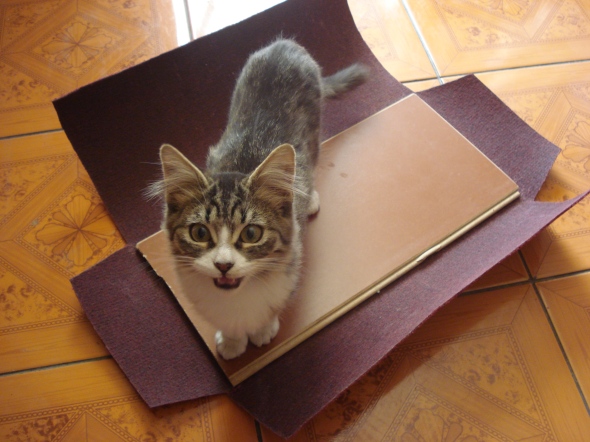
–A feline assistant (not really necessary, but probably not optional either)
–Un pedazo de madera/una tabla. Yo usé un pedazo de piso flotante que andaba dando vueltas, pero una tabla vieja para cortar o algo parecido también serviría.
–Latas y tubos de comidas vacíos. Usé dos tubos de papas, tipo Pringles/Kryzpo, y un tarro de café. Los que vienen con tapas preferiblemente.
–Cubrepiso. El cubrepiso es más barato y más delgado que la alfombra, la cual nos sirve para este proyecto. Compré un saldo en el persa por $1.500.
–Pegamento. Usé silicona liquida, pero me parece que una pistola de silicona funcionaría mejor. También usé un poco de Neopren.
–Cuchillo cartonero
–Un hilo grueso y áspero.
–Lana
–Plumas, u otro juguete.
–Una bolsa de arroz.
–Un asistente felino (no es necesario, pero probablemente no te darán otra opción)
HOW TO / COMO ARMARLO
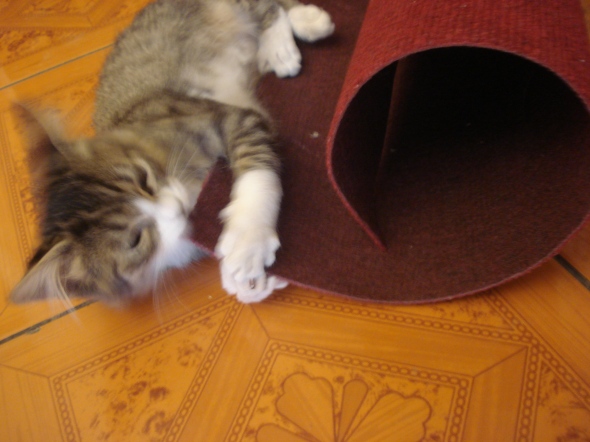
1. Assemble your materials. Have your assistant attack the roll of carpet, and make sure it has been fully clawed into submission before using.
1. Junta los materiales. Asegura que tu asistente lance un ataque al cubrepiso, rasguñándolo hasta amansarlo antes de usarlo.
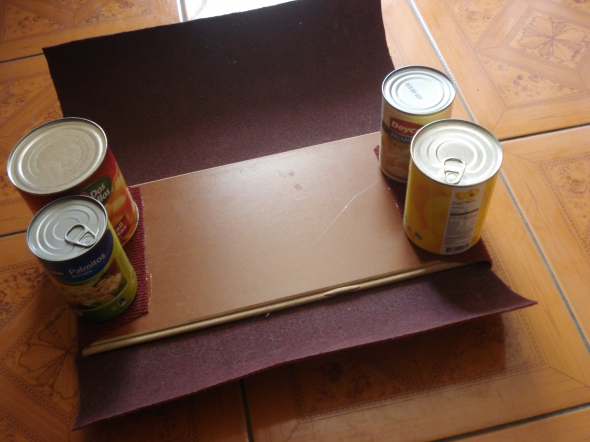
2. Position your piece of wood or board on the carpet, and cut an “envelope” shape around it. The idea is to wrap it up, birthday present style. So three smaller flaps on the ends and one side, and a longer flap to cover the entire base.
2. Posiciona la tabla en el cubrepiso, y corta el cubrepiso en la forma de un sobre. La idea es de envolverla como un regalo. Es decir, corta tres tapas chicas a los costados, y una tapa grande al lado para cubrir todo.
3. Glue the board into position, then glue the flaps into position. Use something heavy to weigh them down. This is where using a hot glue gun would come in handy, no weighing things down or waiting for them to dry. Once the flaps are dry, glue down the final remaining piece.
3. Pega la tabla en posición, luego pega las tapas chicas. Usa algo pesado para mantenerlas en posición. Aquí es cuando se me ocurrió que una pistola de silicona serviría mejor, no hay que esperar para que se seque ni aplicar presión para que se pegue bien.
4. Whilst the base is drying, cut the carpet to shape to fit around your tubes. Do this by simply rolling the carpet around the tube to see how much you’ll need.
4. Mientras se seca la base, corta el cubrepiso al tamaño necesario para los tubos. Esto se hace enrollando los tubos en el cubrepiso para ver cuanto se necesita.
5. Take the bag of rice (you might not need all the rice) and put it in the tube which will be attached to the base. This is just to give it extra weight and stability.
5. Toma la bolsa con arroz (tal vez no necesites todo el arroz) y la pones en el tubo que se va a pegar a la base. Esto sirve para hacerlo mas pesado y estable.
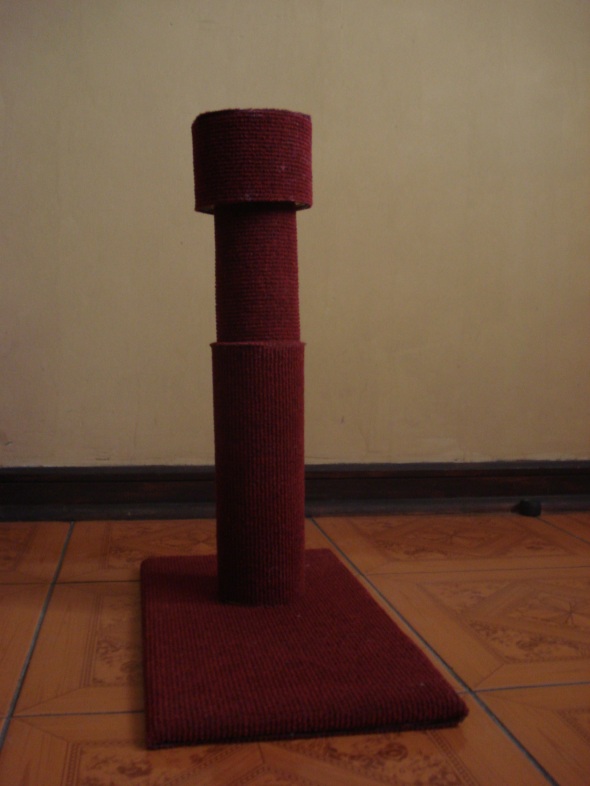
6. Glue the carpet to the tubes. Depending on what glue you’re using you might want to use elastic bands to hold it together whilst it dries. Glue circular pieces of carpet to the lids of the tubes (or at least the ones which are going to be seen.)
6. Pega el cubrepiso a los tubos, se puede usar elásticos para mantenerlo en posición. Pega círculos de cubrepiso a las tapas de los tubos (o por lo menos las que se ven).
7. Once everything is dry, glue the tubes to the base. For this I used Neopren carpet adhesive because it’s stronger than Silicone, although I think Silicone would’ve been ok.
7. Cuando se seca todo, pega los tubos a la base. Para esto usé Neopren, porque es más fuerte que la silicona, aunque creo que la silicona igual funcionaría bien.
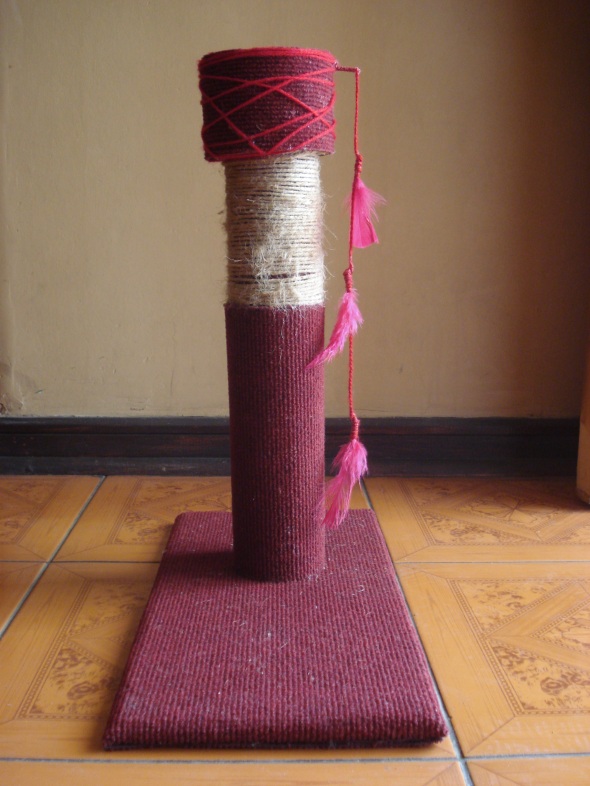
8. Attach the coarse string. You could attach it anywhere on the post, I chose to wrap it around the middle section. Glue down the first few centimetres, then wrap tightly around the post, gluing down the last few centimetres when you get to the other end.
8. Adjunta el hilo grueso. Se puede poner en cualquier parte del poste, yo lo puse en la parte al medio. Pega los primeros pocos centímetros, y después vaya envolviéndolo bien apretado al tubo. Pega los últimos centímetros también.
9. For decoration I zigzagged a bit of wool around the top of the post, gluing into position at the beginning and end.
9. Para decorarlo un poco, puse un poco de lana en forma zigzag en la parte de arriba, también pegando los primeros y últimos centímetros.
10. Attach a nail into the top of the post. I did this by making a hole in the coffee tub, then gluing the nail into place.
10. Fija un clavo en la parte de arriba. Hice un hoyo en el tarro y pegue el clavo en el hoyo.
11. Figure out how long a piece of wool you need. I wrapped and glued it around the nail to cover it up, and then left a piece dangling, to which I attached the feathers. I attached the feathers by putting some glue along the hard stalk bit and the end of the feather, then wrapping the wool around them.
11. Ve el largo de lana que vas a necesitar. Yo puse pegamento en el clavo, y lo envolví en lana para cubrirlo, y dejé el resto colgando. Eché pegamento a la parte dura al final de la pluma, y la envolví con la lana.
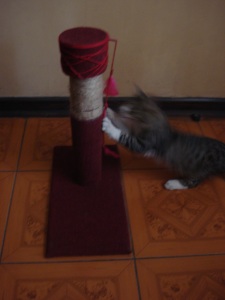
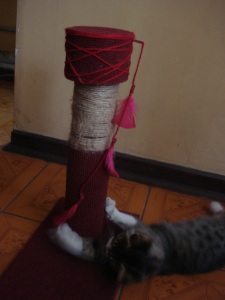
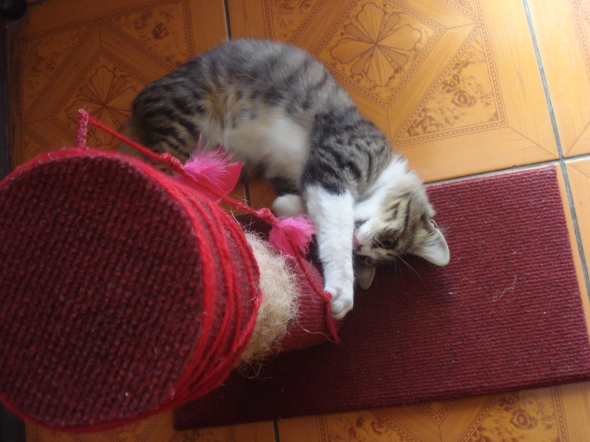
And ta-da, that’s it! I was a bit unsure about how it would all hold together, but the glue is holding tight, and nothing has come lose. The hot pink feathers have proved a hit, as has the coarse string, which as you can see has received a fair bit of scratching. Pocho still plays with both posts, but he definitely uses this one more, especially for scratching, and the sofa has been left untouched, an all round success!
¡Y ahí esta! No estaba segura de que tan resistente sería, pero el pegamento ha resistido bien y está todo intacto. Las plumas fucsias han resultado ser un éxito, tanto como el hilo áspero que como pueden apreciar, se ha rascado bastante. El Pocho juega con ambos rascadores, pero efectivamente usa este más que el otro, especialmente para rascar, y el sofá, ni lo ha tocado así que ha sido un éxito total!





Me encantó!!! definitivamente lo voy a probar, no le pego mucho a las manualidades, pero creo que podría hacer algo así para mis gatitas 🙂 lo único que te recomiendo es tener cuidado con ls hilos que están en la parte superior, a veces los gatos ls cortan con los dientes y se los comen, cual es peligroso para sus intestinos :s (te lo digo por experiencia propia)
saludos!!
Me encantó! Lo voy a poner en práctica ahora pronto.. para que mi gatita (que además se llama como tú, Sophie ajaja) tenga su propio rascador hecho por mí. Y además, como estudiante de traducción amé que pongas las instrucciones en inglés y en español.. te vas a mis marcadores =) Muy buena página!
Gracias!!! Ahora me tengo que poner al día con unos nuevos posts, lo tengo un poco abandonado! Gracias por tus comentarios 🙂
Amé la idea, fácil y bonito.Mi pequeño ayudante seguro se apunta para este proyecto. saludos
Amé la idea, fácil y bonita. Mi pequeño ayudante seguro se apunta para este proyecto.saludos
[…] via santiagodiy.wordpress.com […]
[…] Click HERE for the instructions […]